Getting Started
Clinic Access
Add a header to begin generating the table of contents
Other Sections
Add a header to begin generating the table of contents
How to Login
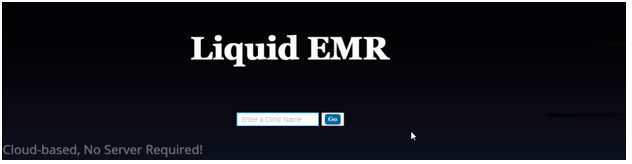
- In your browser, enter (Liquid EMR’s link) to bring you to the home screen
- This is where your clinic will have access to the new cloud software
- This is where your clinic will have access to the new cloud software
- Enter clinic name in search bar > go
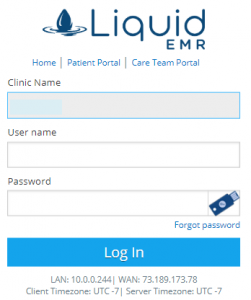
- Make sure the clinic name is correct > enter username > enter password > login
Viewing Schedule
Add a header to begin generating the table of contents
Schedule Tab Location
Click on the Schedule tab from the left side panel to see an overview of all physicians’ schedule. Depending on preference, users can change the interface of the schedule screen

Change Schedule View
- Navigate to right side of software > click the desired schedule view from the Day, Week, Work Week, Month button

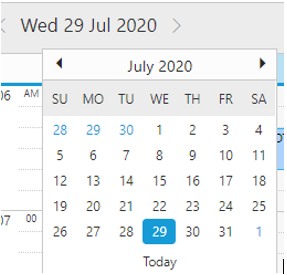
View Schedule by Date
- Click the date > use the calendar to select the desired date
- See LINK for further detail
Open Chart From Schedule
How to Access
- From the Schedule tab click on existing appointment
- Or create new appointment
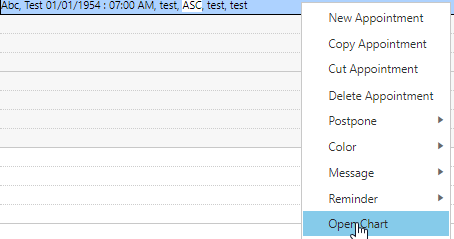
- There are 2 ways to access a patient’s chart from the schedule
- Right click appointment > select Open Chart to go straight to patient’s chart
- Click the appointment ONCE > select Patient Chart icon
- Click LINK for further detail
- Right click appointment > select Open Chart to go straight to patient’s chart
View Patient Notes
Add a header to begin generating the table of contents
Click Patient Notes to pull up new window for inbound documents related to the patient
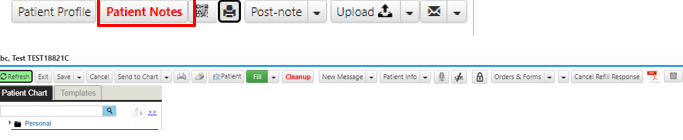
View Patient Notes
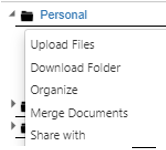
Folder operations: Click the folder icon to perform functions
- Arrow icon: expand the list of notes
- Folder icon: browse different actions (Upload files, Download Folder, Organize, etc. )
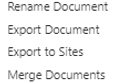
- 3 vertical dots icon : to browse different actions (Rename Document, Export Document, Export to Sites, delete document, etc.)
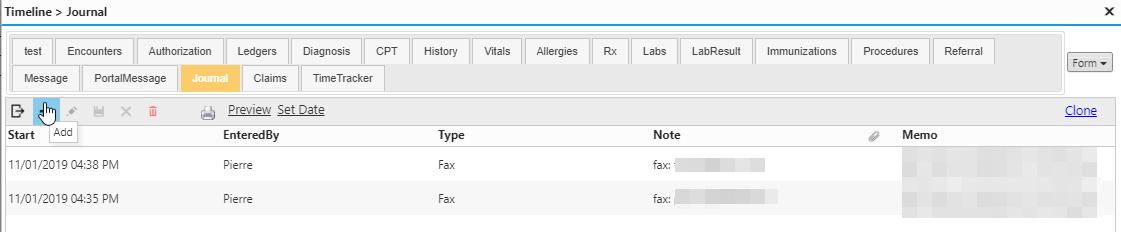
Open Timeline Data From Patient Note
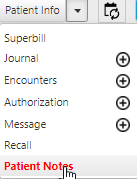
When looking at a patient’s notes, users can view the Timeline on the same screen
- Repeat steps to open patient notes > navigate to Patient Info icon > click drop down arrow > select either journal, encounters, authorization, message to pull up timeline view
- Browse through timeline view > click on correct tab to add, edit, or delete an entry
- Click LINK for further detail
Filling Form Template
From within a patient’s notes, users can also select different Templates to apply to the patient directly.
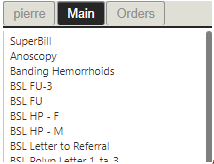
- Most commonly use templates are listed on the Main tab from a patient’s chart on the right pane > click on desired template
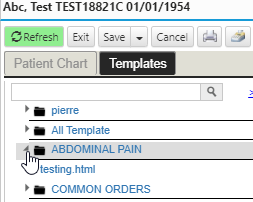
- If your template is not in there, you can open the Patient Notes button > select the Templates tab > type a few letters of the template name in the search field

- If it is not there, you can browse through the template folders to find a template to use
- When you have the correct template, navigate to the Fill icon within the toolbar > click Fill icon once to automatically fill in all the information based on the selected patient

- Depending on the macros within the template, users need to also choose the correct options based on the patient (i.e. Mr/Mrs, date, medications, etc.)
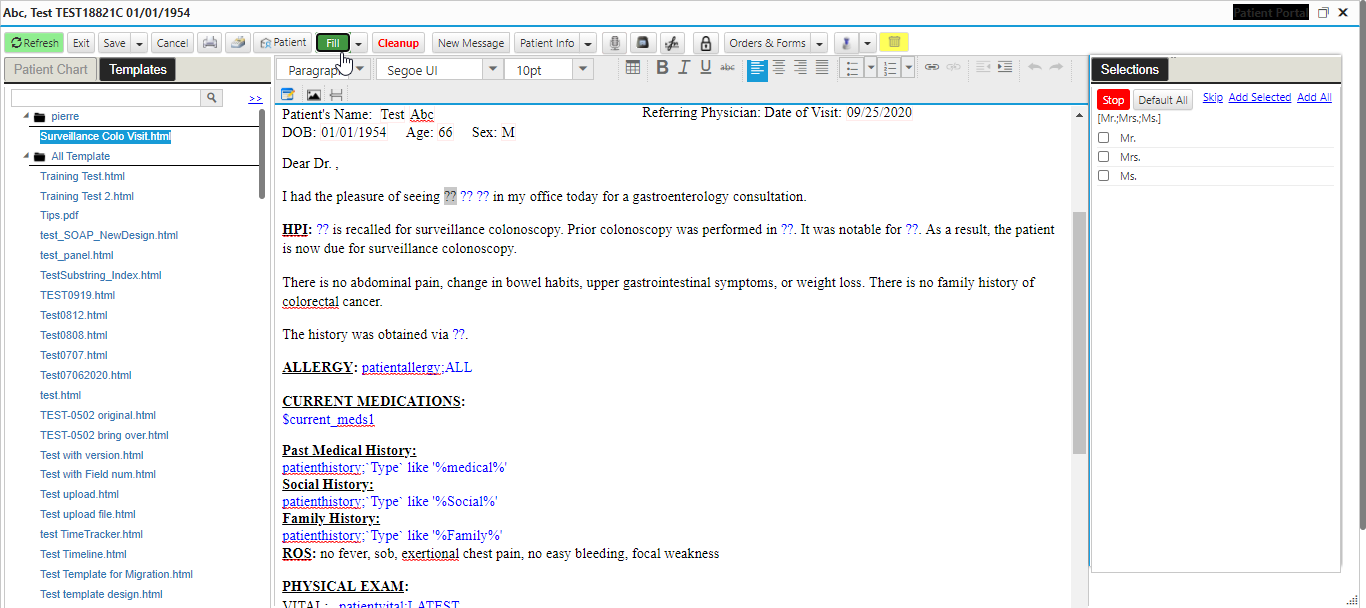
- Verify the content and make any adjustment directly on the template
- Click on Save
Messaging Staffs
Assign Follow Up Task to Staffs
Sometimes staff members do not notice they have received a message from another member. In that case follow these steps to set a reminder
- Open Chart note
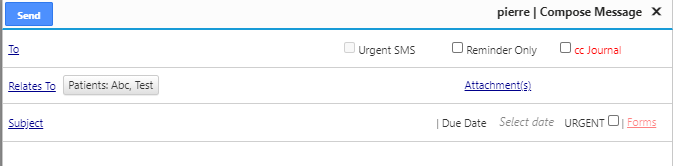
- Click on Message Icon

- Select Staff and subject
- Click the To hyperlink to pull up a window containing the entire staff > browse through different tabs to select the right recipient > click Ok when ready
- Click the Subject hyperlink to show auto-populated subject lines
- Or free type the subject name
- Or free type the subject name
- Add instructions if necessary
- Click Send
Review Inbox
Add a header to begin generating the table of contents
Inbox Tab Location
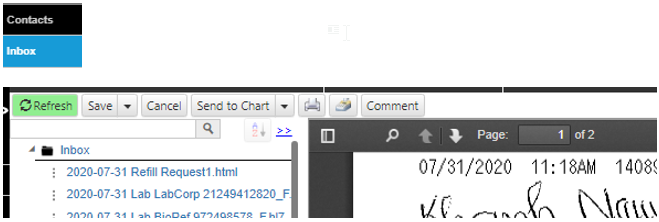
Click the Inbox tab from the left side panel for archive in inbound faxes
Folder operations: Click the folder icon to perform functions
- New Document: creates new document
- New Folder: creates new folder
- Delete Folder: deletes folder
- Download Folder: downloads folder
- Merge Documents: merges between documents
Folder operations (cont’d): Click desired document à the icon to perform said functions
- Rename document: renames document
- Delete document: deletes document
- Export document: exports document into new tab
- Extract pages from PDF: can select a range of pages within PDF
- Select document: copies document into Selected Documents folder where users can scan multiple documents at a time
View Inbox
- Click the arrow on the left side of Inbox to open/close any folder within the inbox
- Click document once for quick preview
Route Document to Patient
- Review a document > click Send to Chart icon to open the Patient Lookup window

- (Advance) by default, we route document to chart. You have the option to copy to chart instead and keep the current file in the same location.
- Enter the patient name, date-of-birth, or chart number > click Search Patient
- Or click New Patient to create a new patient
- Double-click the correct patient
Route Document to Shared
- Click the Dropdown and select Shared correct destination
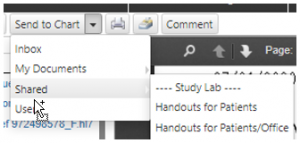
Route Document to My Documents
- Click the Send to Chart drop-down > hover over My Documents > select the correct destination
- Click LINK for further detail