Templates
Appointments
Add a header to begin generating the table of contents
Other Sections
Add a header to begin generating the table of contents
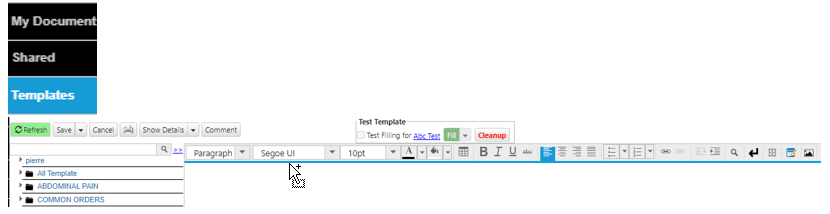
The Templates section contains all the different forms that are used for patients. Each template is specific to each clinic making it easily customizable. To edit all the templates, they can be found on the left hand panel. However, users can quickly apply the template to a specific patient by navigating under the Main tab on the right hand side of the patient’s summary screen.
Template Tab Location
Click Templates tab from the left side panel to create/edit templates for physicians
Open a Template
- Click arrow on the left of folders icon to expand different categories
- Or type criteria in search bar

- Or type criteria in search bar
Edit/Format Template
- Click an existing template
- Or type criteria name in the search bar
- Use the text editor’s functions to edit and format the template(see reference)
- Toolbar icons can be preformed similarly to a Word Document
- Click Save when finished
Create New Template
- Click the arrow icon adjacent to the correct folder to expand templates within the directory
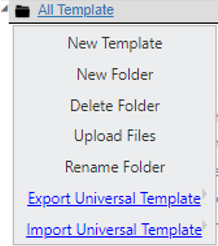
- Click the folder icon above the correct directory > click New Template from the drop down menu
- Enter the new template’s name
- Find Choose Template Type > select the correct template type (e.g. SOAP, HTML Form, etc.) (see reference)
- Click Create
Add Template Macros
- Click the + next to each section of the macro toolbox (e.g. Design Toolbox, Form Toolbox, Patient Data, etc.) (see reference)
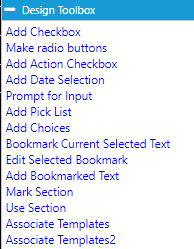
- Design Toolbox
- Form Toolbox

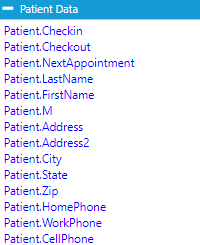
- Patient Data
- Contact Data

- Contact List

- Clinical Data
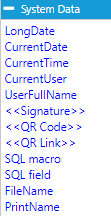
- System Data
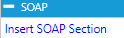
- SOAP
- Design Toolbox
- Click the desired function to insert it into the template
- Click Save when finished
Test Template
- Click Save
- Find Test Filling àcheck the box > click the patient’s name hyperlink to choose another patient
- Enter the desired patient’s name, date-of-birth or account number > click Search Patient > double-click the correct patient
- Click Fill to test the template with that patient’s data

- Uncheck Test Template box to continue editing the template
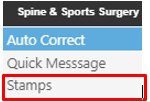
Add Stamps
- Click the clinic’s name at the top of the screen > click Stamps
- Click the + button to add space for a new stamp > under Stamp Name enter the stamp’s name
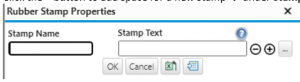
- Under Stamp Text enter the text to stamp
- Or click the … > click Choose File to select the stamp file > click Upload
- Or do both A and B to add a stamp with both text and an image
- Click Ok to save and exit
- See Personalization reference for further details
Reference Guide
Add a header to begin generating the table of contents
Navigation Menu
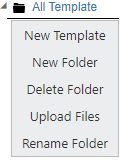
- New Template: opens new template window
- New Folder: creates new folder
- Delete Folder: deletes the selected folder
- Upload Files: opens file browser to select which files to upload
- Rename Folder: renames the selected folder
New Template Panel
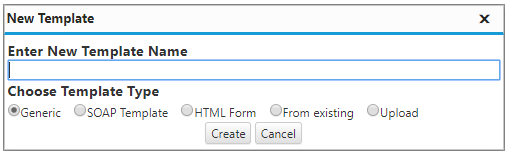
- Template Name: enter template name
- Template Type:
- Generic: creates a blank template
- SOAP: creates a template with configurable SOAP sections (see configuration)
- HTML Form: create forms for patients to fill online or via the facility’s registration tablet(s)
- From existing: creates a copy of an existing template
- Upload: uploads a template file
Test Template Option
![]()
- Checkbox: enables test filling of the template
- Name Link: displays which patient’s data will be used to fill the template
- Fill: begins filling the template
Text Editor Toolbar

- Format: selects the format of the text
- Font: selects the font of the text
- Font Size: selects the size of the text
- Select Color: selects the color of the text
- Background Color: selects the highlight color of the text
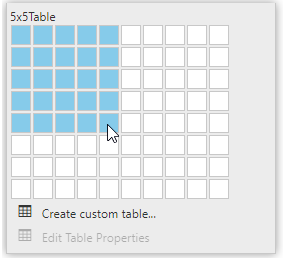
- Insert Table: inserts a table
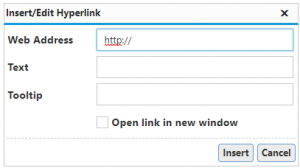
- Hyperlink: inserts a hyperlink
- Search: opens “Find and Replace” window
- Return: inserts new line
- Border Style: cycles through various border styles
- Editor: opens advanced editor
- Image: inserts image
- Page Break: inserts page break (used for printing templates)
Macro Toolbox
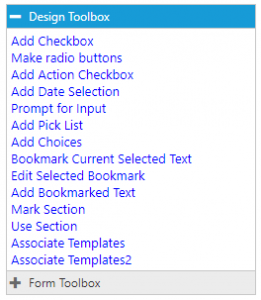
- Design Toolbox: contains tools used for
- Add Checkbox: inserts checkbox
- Add Date Selection: inserts calendar for selecting the date
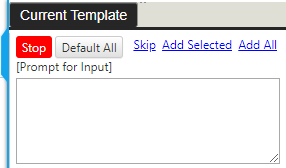
- Prompt for Input: prompts user to type an input (see picture)
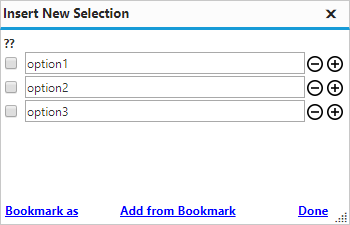
- Add Pick List: prompts user to select from a list of user-defined options (see picture)
- Bookmark as: saves options for reuse
- Add from Bookmark: add options from bookmarks
- Bookmark Current Selected Text: creates a bookmark from highlighted text
- Add Bookmarked Text: adds previously bookmarked text
- Form Toolbox: contains macros for creating forms for patients to fill online or via the facility’s registration tablet(s)
- Patient Data: contains patient data macros
- Contact Data: contains contact data macros
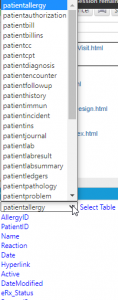
- Clinical Data: contains encounter data macros
- System Data: contains system data macros
- SOAP: inserts user-defined SOAP sections