test
basic functionility
practice management
Appointments
Add a header to begin generating the table of contents
Other Sections
Add a header to begin generating the table of contents
Create Appointment
- Click on the Schedule tab from the left side panel to see an overview of all physicians’ schedule


- Double-click a free time slot
- Or right-click a free time slot > click the New Appointment option
- Or click a free time slot to select it > click the New Appointment button

- Click Patient Lookup (see reference)

- Enter the patient’s name, date-of-birth or account number > click Search Patient > double-click the correct patient
- Or click New Patient to create a new patient
- Select the correct Schedule, Subject, and Reason, etc. (see configuration)
- Click Save and Close
Copy/Cut and Paste Appointment
- Right-click an existing appointment > click the Cut / Copy Appointment option
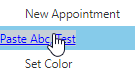
- Right-click a free time slot > click the Paste option
- Click Save and Close
Expand Appointment
- Double-click an existing appointment > select the correct Duration (see configuration)

- Or hover over the top or bottom border of an existing appointment > click and drag

- Or hover over the top or bottom border of an existing appointment > click and drag
- Click Save and Close
Delete Appointment
- Click an existing appointment to select it > click the Delete Appointment button

-
- Or right-click an existing appointment > click the Delete Appointment option
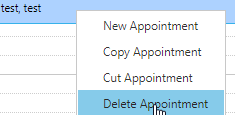
- Or right-click an existing appointment > click the Delete Appointment option
- Confirm
Create Reoccurring Appointment
- Create an appointment > check the Recurrence box > configure the recurring appointment with the additional options

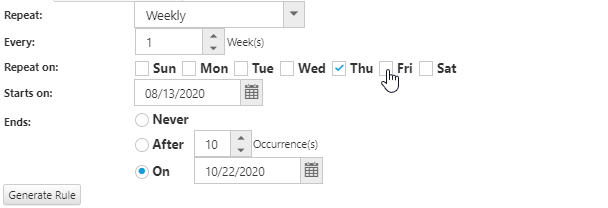
- Click Save and Close
Create Overbook Appointment
- Double-click the free space to the right of an existing appointment
- Or click an existing appointment to select it > click the New Appointment button
- Select the correct Schedule, Subject, and Reason, etc. (see configuration)
- Click Save and Close
Change Status of Appointment
- Click an existing appointment to select it > select the correct Status from the Patient Preview
- Or double-click an existing appointment
- Select the correct Status option (see configuration)

- Click Save and Close
Schedule View
Add a header to begin generating the table of contents
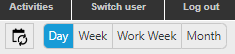
Change Schedule View (e.g. day, week, month)
- Click the desired schedule view from the Day, Week, Work Week, Month buttons
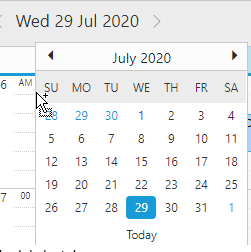
View Schedule by Date
- Click the date > use the calendar to select the desired date
View Schedule by Tabs
- Above the patient preview, click the desired tab (see configuration)
Change Schedule Group
- At the top of the screen, select the desired schedule group (see configuration)
Filter Reoccurring Appointments
- Click the Filter Recurrent button to only view recurring appointments
Print Schedule
- Click the Print Schedule button

- Click the Print button in the browsers print window
Reference Guide
Add a header to begin generating the table of contents
Schedule Menu
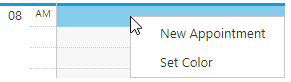
- New Appointment: opens the new appointment window
- Set Color: opens the ColorCoding system configuration window (see configuration)
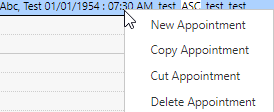
Appointment Menu
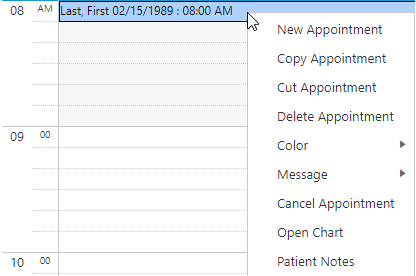
- New Appointment: opens the new appointment window
- Copy Appointment: copies the selected appointment
- Cut Appointment: cuts the selected appointment
- Delete Appointment: deletes the selected appointment
- Postpone: moves the selected appointment to the end of the schedule
- Message: selects the type of message to send
- Color:
- Set Color: opens the ColorCoding system configuration window (see configuration)
- Match Color: displays a message with the color match details
- Open Chart: opens the relevant patient’s chart
- Patient Notes: opens the relevant patient’s notes
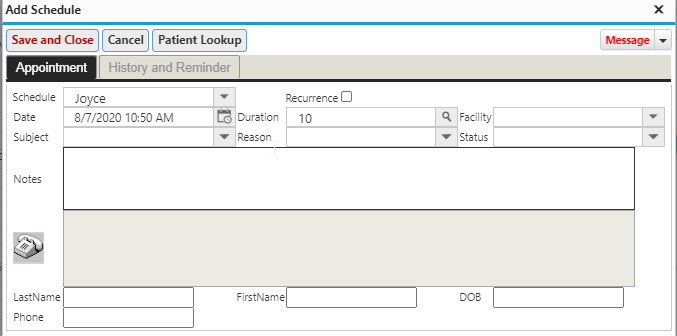
Appointment Window
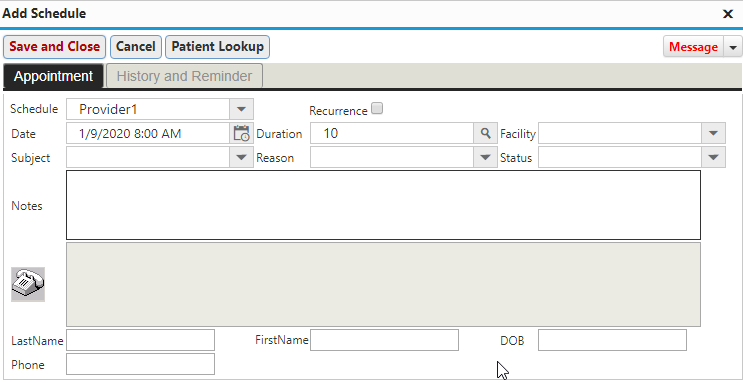
- Save and Close: saves current entries, selections and changes
- Cancel: cancels current entries and selections
- Patient Lookup: searches for correct patient from a list of existing patients (see reference)
- Schedule: shows the provider for the appointment
- Date: shows the date and time of the appointment
- Subject: selects the subject of the appointment
- Duration: selects the duration of the appointment
- Reason: selects the reason for the appointment
- Facility: selects the facility appointment will be at
- Status: selects the status of the appointment
- Recurrence Box: expands options for recurring appointments
- Notes: enter notes about the appointment
- Last Name, First Name, DOB, Phone: auto-fills with patient demographics after selecting a patient
Add Schedule Window
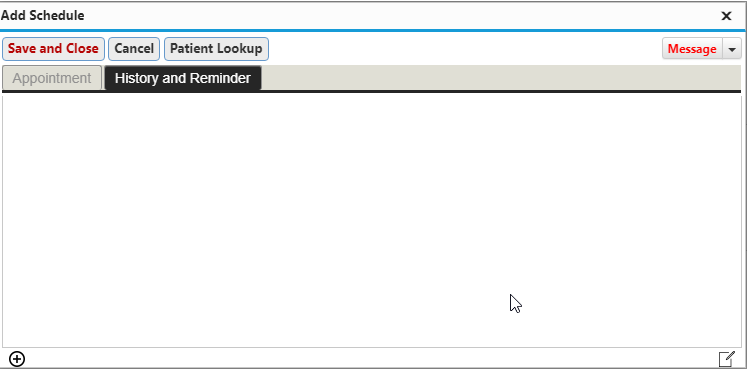
- History and Reminder: shows the history of the appointment
- Message – Patient: emails the patient information or a reminder prior to the appointment
- Message – SMS Patient: texts the patient information or a reminder prior to the appointment
- Message – TeleHealth: emails the patient a link to join the TeleHealth appointment
Patient Lookup

- Search Box: enter a patient’s name, date-of-birth, or account number to search for them
- Clear: clears the search box
- New Patient: opens the new patient window
- Cancel: cancels the current entries and selections