ePrescribe
Prescriptions
Add a header to begin generating the table of contents
Other Sections
Add a header to begin generating the table of contents
The eRx section is meant for only authorized staff to order new prescriptions for a patient. The correct personnel can reconcile or re-prescribe medication based on a patient’s medical history and send requests straight to the pharmacy associated with the patient.
Create and Send ePrescription
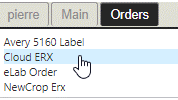
- From the patient’s summary screen, users can navigate to the Main and Orders tab
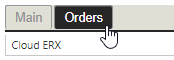
- Select the Orders tab > Cloud ERX
- Users can also go to the Cloud ERX through a patient’s notes
- Open the patient’s notes (see reference)

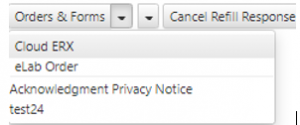
- Click the Orders & Forms drop-down > click Cloud ERX
- Open the patient’s notes (see reference)
- Enter the medication’s name in the search box > press Enter
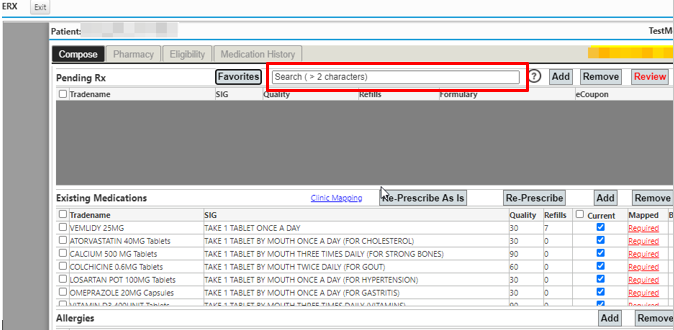
- Or click Add button
- Enter the medication’s name in the search box > press Enter
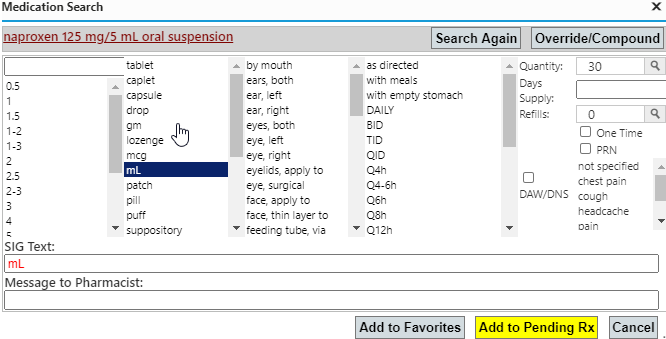
- Double-click the correct medication to add it to the Pending Rx list
- Double-click the newly added medication > from this window you can edit the SIG Text, Message to Pharmacist, or edit details for the medication by clicking through the different options
- Repeat 1-4 until the required medications are all listed under Pending Rx > click Review button
- Click the Pharmacy tab to enter search for the correct pharmacy

- Enter the pharmacy’s name in the search box > press Enter
- Or click Search
- Double-click the correct pharmacy to select it
- Click Print (if a paper-copy is needed) > click Send to transmit the prescription
Reconcile Medication History
- Open the patient’s notes (see reference)
- Click the Orders & Forms drop-down > click Cloud ERX
- Or on the patient’s summary screen navigate to the right side of the screen > click the Orders tab > click Cloud ERX
- Or on the patient’s summary screen navigate to the right side of the screen > click the Orders tab > click Cloud ERX
- Click the Medication History tab > select the medications to import into the patient’s chart > click Reconcile Selection
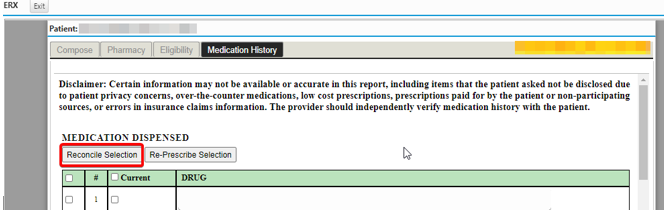
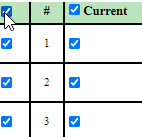
- Click the top left check box to select all medications if necessary
- After selecting desired medication > Click Reconcile again to bring up new window

- If patient is currently taking medication click the check box under Current column > once ready click Reconcile icon
- Open the patient’s timeline (see reference) and verify the selected medication are present
- Check your message inbox for incoming refills
Pharmacy
Add a header to begin generating the table of contents
Setting Patient Prefer Pharmacy
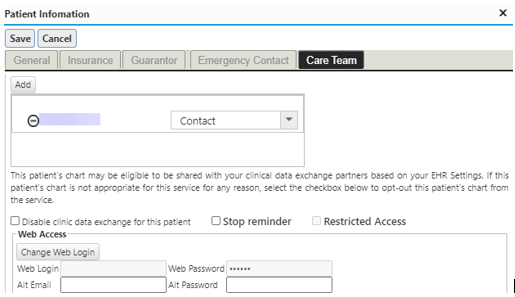
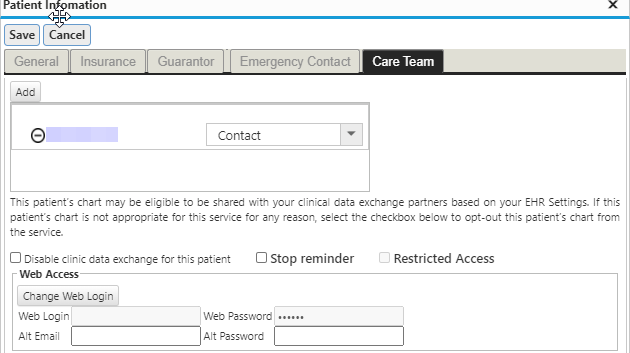
- Open Patient chart > click on Profile button > select Careteam tab
-
- Click on the Add button to add a Careteam member
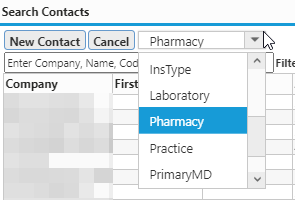
- Select Pharmacy from the dropdown list, search and select the pharmacy if present

- If pharmacy not found, click on the Surescripts button to search from the nationwide database
- Note: All pharmacy must be added from Surescripts database in order to ePrescribe. Each pharmacy must have a correct Surescripts ID. You cannot ePrescribe to a manually added pharmacy contact entry.
-
- Make sure pharmacy is Surescripts certified
- Select patient
- Follow steps to find correct patient
- Click patient profile > care team > add icon > select drop down menu > click pharmacy > double click correct pharmacy to add onto patient’s Care Team
How to Add to Care Team
- Follow steps to find correct patient
- Click patient profile icon > care team > add icon > select drop down menu > click pharmacy > double click correct pharmacy to add onto patient’s Care Team
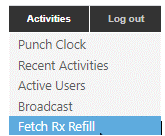
Fetch Rx Refill Daily
- Navigate to the upper right hand screen
- Click Activities > Fetch RX Refill
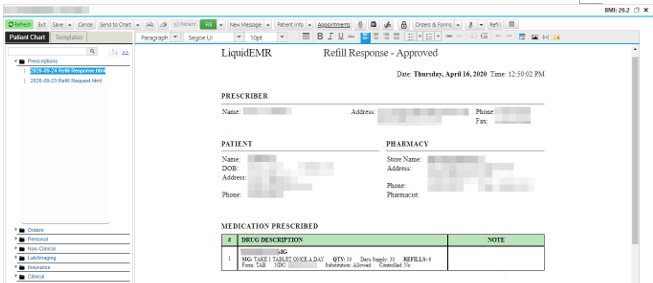
Refill Response
- Open a patient’s chart > click the paper checkmark icon on the very right of the item underneath the Messages tab > this will take you straight to the patient’s chart refill request form

- From this screen make sure to select the correct form by double checking the date, name of patient, etc. > click the Refills via Surescripts link
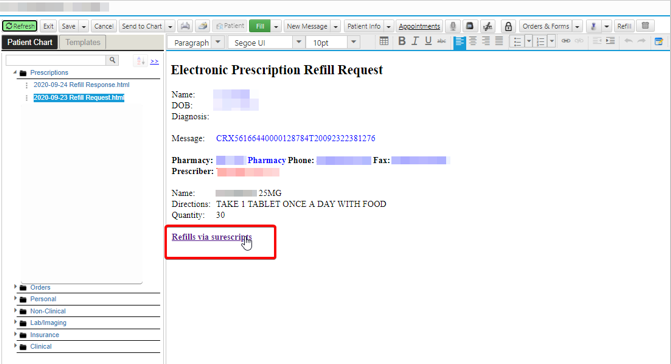
- Select refill decision from this section

- Once finished click the Refill Request icon > following this completion a Refill Response document will be sent out
Reference Guide
Add a header to begin generating the table of contents
eRx Window – Compose
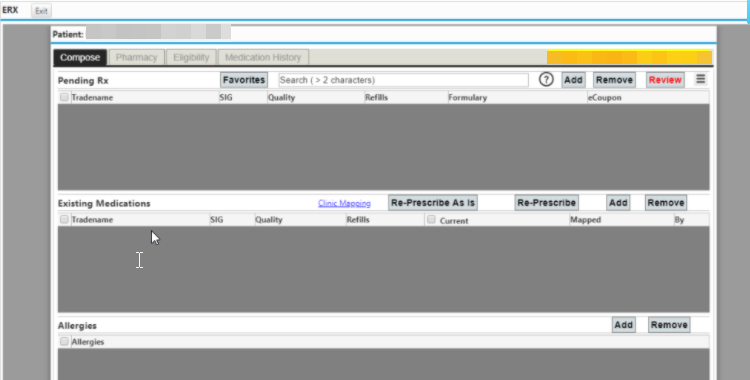
- Pending Rx
- Favorites: opens list of favorite medications
- Search Box: enter full or partial medication name, opens medication search
- Question Mark: opens prescriber’s digital reference (PDR)
- Add: opens medication search
- Remove: removes selected medications from Pending Rx list
- Review: switches to Pharmacy tab with pending Rx list
- Existing Rx
- Re-Prescribe As Is: adds selected medications to Pending Rx list, does not prompt for modifications
- Re-Prescribe: adds selected medications to Pending Rx list, does prompt for modifications
- Add: opens medication search
- Remove: removes selected medications from Existing Medications list
- Allergies
- Add: opens allergy search
- Remove: removes selected allergies from allergy list
eRx Window – Pharmacy
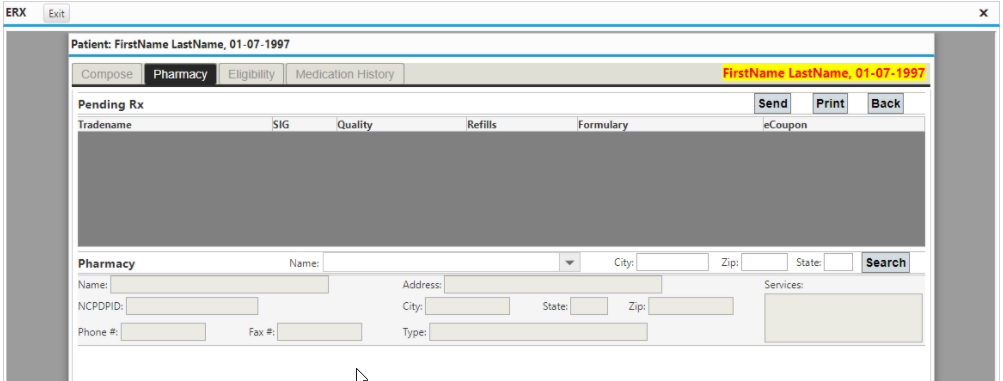
- Pending Rx
- Send: sends the listed medications to the pharmacy
- Print: prints the prescription as well as the prescriber, patient and and pharmacy’s information
- Back: returns to the previous tab
- Pharmacy
- Name: enter the correct pharmacy’s name, city, zip, and state
- Search: opens pharmacy search and displays results based on the criteria
eRx Window – Medication History
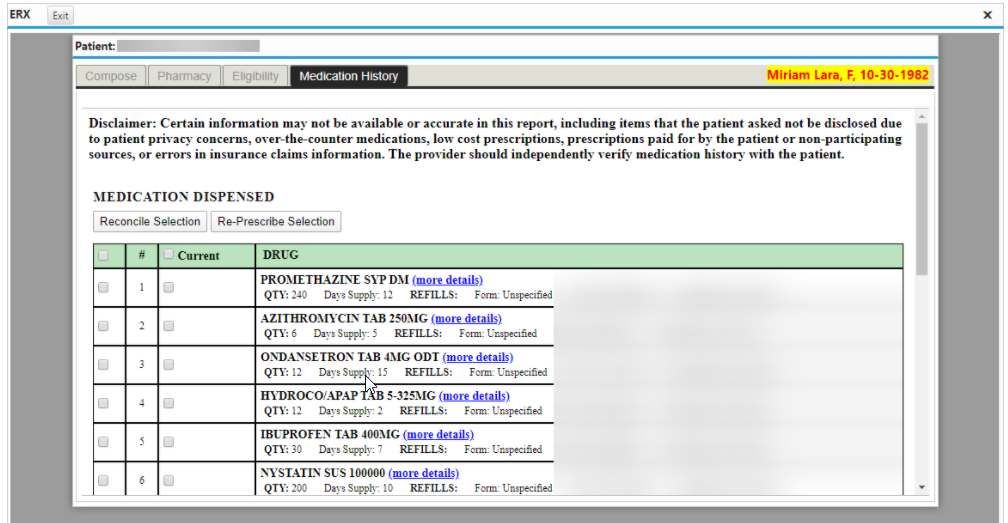
- Reconcile Selection: imports the selected medications into the patent’s chart
- Re-Prescribe Selection: opens medication search to add medication to Pending Rx list