Patient Portal Mobile App
Installation & Login
Add a header to begin generating the table of contents
Home
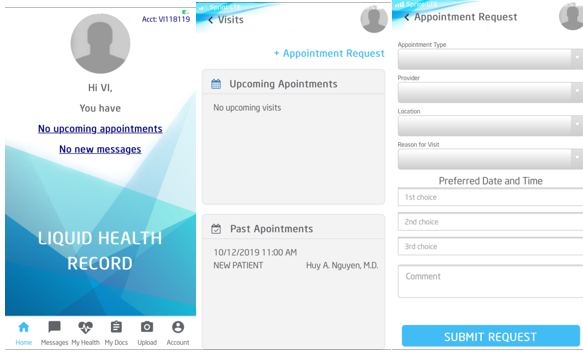
When first logging in to the Liquid EMR patient portal mobile app you will be directed to the home page. It will immediately display your patient profile picture, and show you if you have any upcoming appointments or any new messages.
- View appointments
- If you have an upcoming appointment select it, if you don’t select No upcoming Appointments
- You will then be redirected to Visits where you will view any upcoming appointments or any past appointments
- Appointment Request
- While viewing visits, select the Appointment Request button in the upper right hand corner to schedule an appointment request
- Then select the appointment type, provider, location, reason, and 3 preferred days and times
- When you are finished, select Submit Request and return back to the home page
Messages
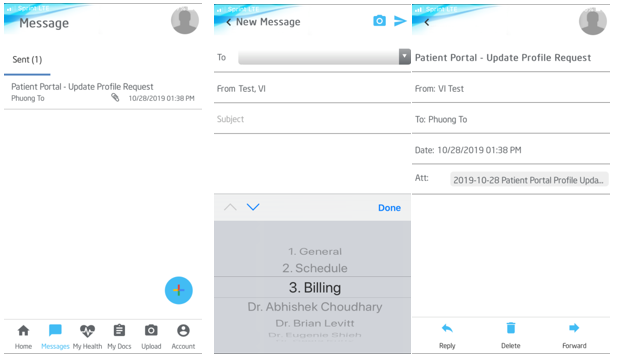
Messages are where the patient messages are kept. To be redirected to Messages select any New Messages you have on the home screen or select No New Messages. You can also get to messages by clicking on the messages icon at the bottom of the screen.
- Compose New Message
- To compose a new message, select the plus icon in the bottom right hand corner of messages
- Select what provider or department you wish to send the message to
- To access your camera select the camera icon in the upper right hand corner
- When you have completed your message, select the send icon
- To Delete a message, open a message and select the delete icon at the bottom of the screen
- To reply to a message select the Reply icon at the bottom of the screen
- To forward a message select the Forward icon
My Health
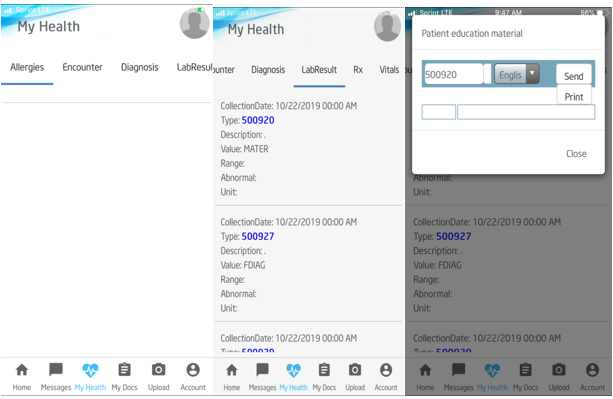
My health is to view what health records you have. To view all health tabs, scroll to the left to view all.
- Any allergies you have on file will be displayed under Allergies
- Encounters
- Any encounters you have had with a provider will be displayed here
- You can view the date, visit type, Provider, and facility
- Any medical Diagnosis you have had will be displayed under Diagnosis
- LabResult
- All lab results will be displayed here
- You can view the date, type, and value of the lab results
- To view patient education material associated with the lab results, select the Lab Type number
- This information can be printed out and accessed in both English and Spanish
- Rx
- Rx displays the name, date, sig, and quantity of any prescriptions
- It also displays any refills that it is valid for
- The name of the prescription can be clicked on to read over the associated patient education material
- This information can be printed out and accessed in both English and Spanish
- Vitals taken will be shown under Vitals
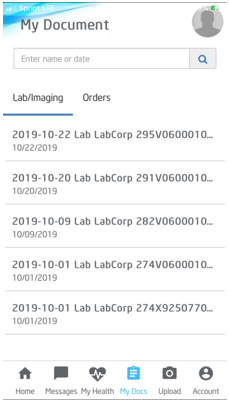
My Documents
My documents is to show the documents associated with your health record. To navigate to the My Docs section of the app select the My Docs icon from the bottom of the screen.
- The Documents are divided in two sections, Lab Imaging and Orders
- The documents are listed by date, and each has a unique filename that is associated with the document type
- To open the document click on it
- To go back to all documents select the name of the document with the back arrow
- To Search for a document enter the document name or date in the search bar at the top of the screen
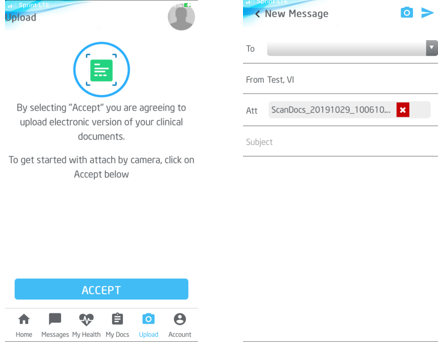
Upload
Upload is to upload an electronic version of your clinical documents.
- To get started uploading documents you must first select the blue Accept button
- Your camera will then be opened and you can begin taking photos of the documents
- You must select Use Photo after the photo has been taken, and then select Continue to upload more documents or Done to confirm you are done
- A new message will be composed with the scanned documents
Account
Account is where your personal profile, account balance, settings, and online forms are all stored.
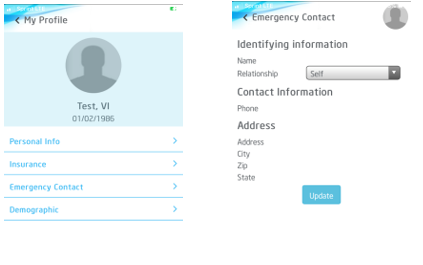
My Profile
- To update your profile select profile
- To add or update personal information, select personal information and click Update to save changes made
- To view your insurance select insurance to view the policy and group number
- To view or update your emergency contact, select emergency contact and click Update to save changes made
- To view your patient demographics select Demographic
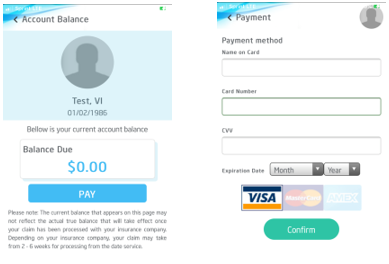
Account Balance
- To view your account balance select account balance
- You will then view your name, DOB, and your current balance due
- To make a payment on your balance, select the blue PAY button
- To confirm the payment input card information and select Confirm to complete
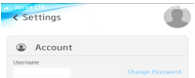
Settings
- To view your account settings select Settings
- To change your password select the blue Change Password option next to your Username
- Input your current password and your new password, then select Update Password
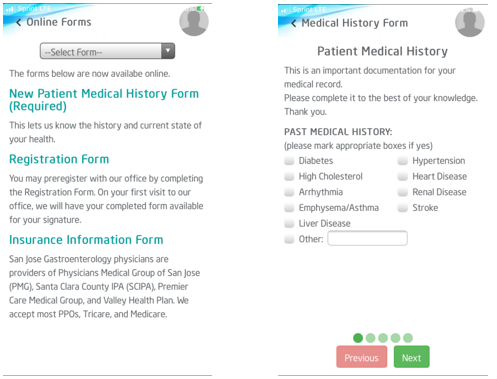
Online Forms
- To read what online forms are available to fill out electronically, select online forms
- To fill out an online form select online forms
- Select a form from the drop down menu and select Done to confirm your choice
- Input all necessary information for the form, to go to the next page select the green next button, to go to the previous page select the red previous button,when finished select Submit Form