Interlink Electronics Epad
Installation
Add a header to begin generating the table of contents
Clinics have the option to use a Interlink Electronics ePad to obtain a patient’s signature for forms upon arrival. It is a quick and easy setup which we are more than happy to assist with in order to make an enjoyable experience for each clinic and all their patients.
eSignature Pad
- Users must first install the device driver here > click Download
- Continue through the setup
- Install the SDK here
-
Launch Chrome > search extension EPADLINK and add to it.

- Install .NET Framework 3.5 here
- Launch sample here to open the SigCapture test page > click Epad Link logo
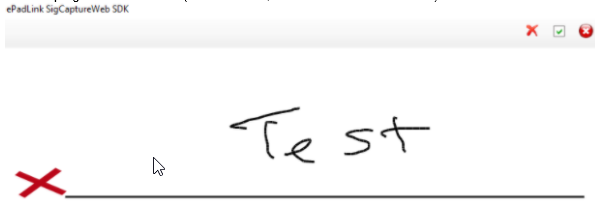
- Use the stylus connected to the ePad to draw signature > select the icons below to clear, change color, open ePad signing box > click Save Signature icon when ready

Configuration
- Login to the cloud
- There are different ways to test the epad signature before obtaining a signature from the patient
- Search a patient > from the patient’s summary screen navigate to the Main or Order tab > select a template for the patient to sign
- Or users can test by searching a patient > Patient Notes > click on template for patient to sign
- From desired template, click on the epad icon which is located in the toolbar

- The signature pop up screen will show > use stylus to sign onto ePad > click the check mark box on the top right corner to save (red X to clear, red circle X to close screen) > save

- Insert where desired
- Users can also move the signature by clicking ONCE and holding down to change location
