Advanced Configurations
Patient Chart
Add a header to begin generating the table of contents
Other Sections
Add a header to begin generating the table of contents
Configure Forms Options
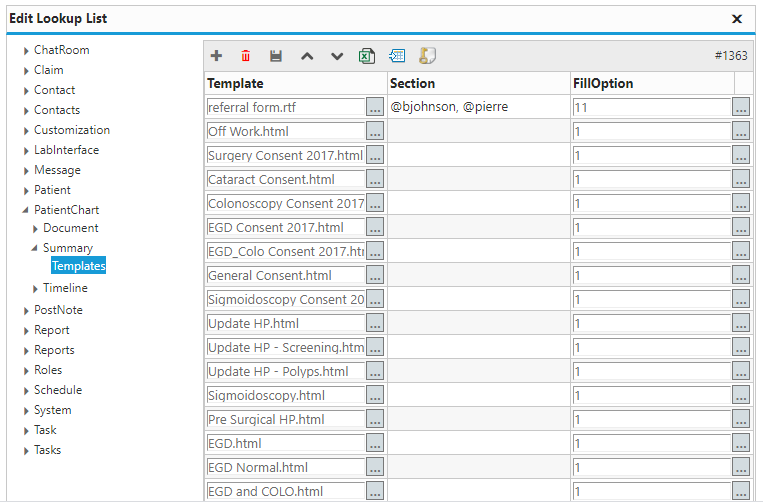
Click Settings > System Configurations > expand Summary > click Templates
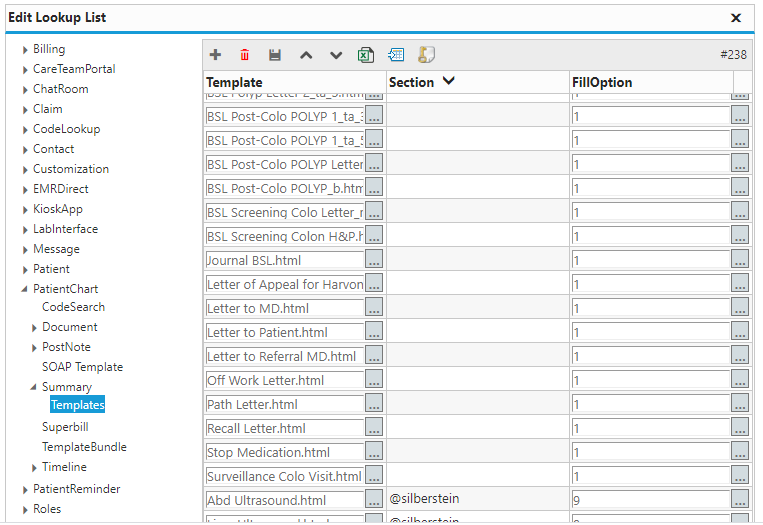
- Template: selects the template to include
- Section: selects where to include the template
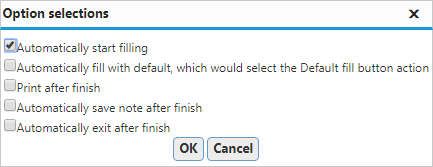
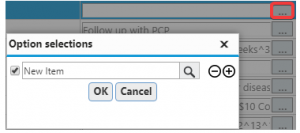
- FillOption: chooses how to fill the template when opened from the selected section (see picture)
Configure Diagnosis Options
- Click Settings > System Configurations > expand Patient > expand ICD9 > click Diagnosis
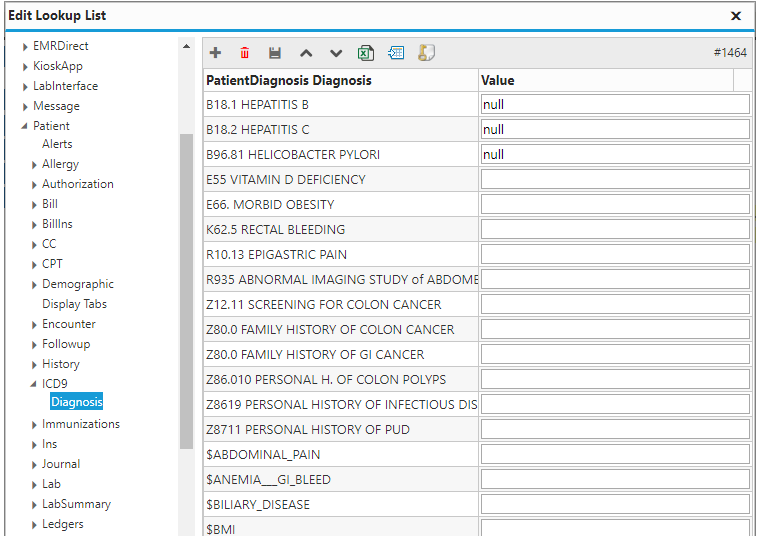
- PatientDiagnosis Diagnosis: enter the diagnosis name
Configure CPT Options
- Click Settings > System Configurations > expand Patient > expand CPT > click Procedure
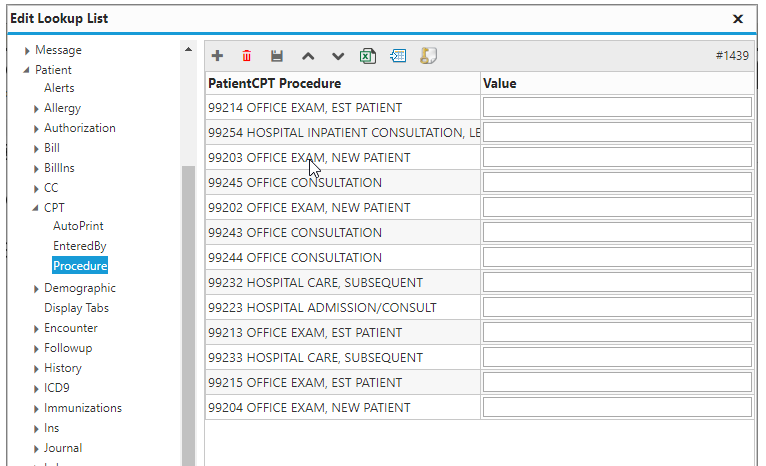
- PatientCPT Procedure: enter the procedure name
Configure Document Folders
- Click Settings > System Configurations > expand PatientChart > expand Document > click Folders
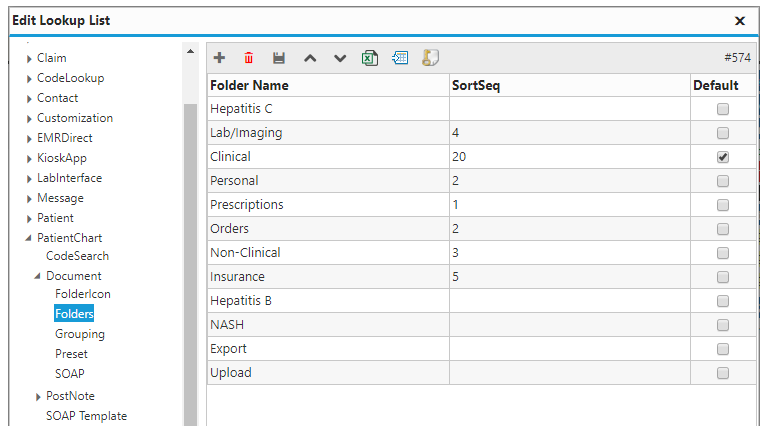
- Folder Name: enter the folder name
- SortSeq: enter the sequence with which to sort the folders
- Default: selects the folder in which to save unsorted documents
Configure Scanned Document Sorting
- Click Settings > System Configurations > expand PatientChart > expand Document > click Preset
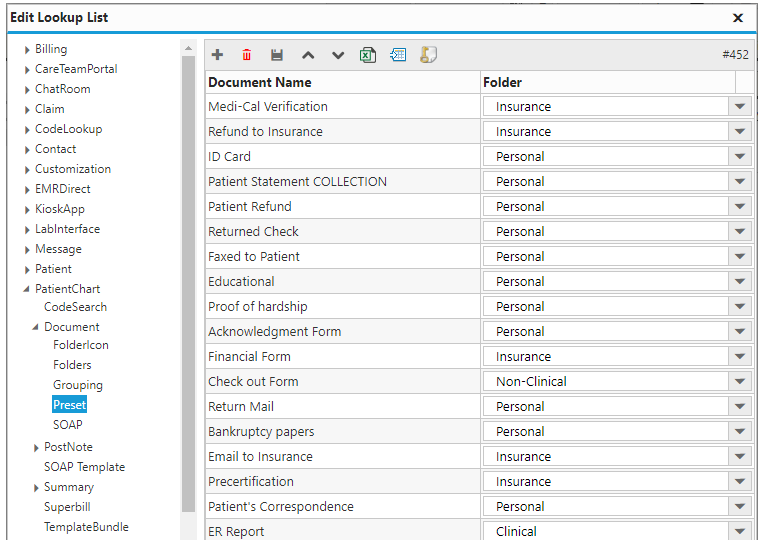
- Document Name: enter the name of the document to be sorted
- Folder: selects the folder in which to save the sorted documents
Configure Template Sorting
Click Settings > System Configurations > expand PatientChart > expand Document > click Grouping
Notes:
The system will search for user specified keys and move templates matching that key to the specified folder. The key must be set between two asterisks (e.g. *key-word*).
- Key Pattern: some set of letters or numbers
- Key Word: some word
- Key Phrase: some set of words
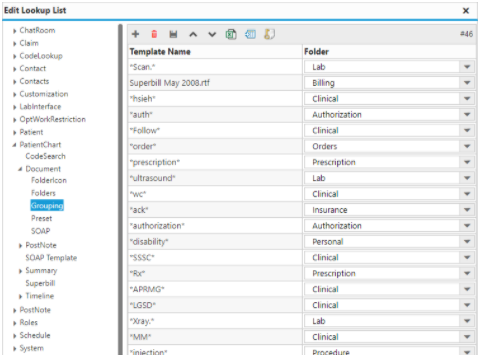
- Template Name: enter the key pattern, word or phrase to sort the templates against
- Folder: selects the folder in which to save the sorted templates
Configure Chart Summary Sections
- Click Settings > System Configurations > expand Customization > expand Summary > click Sections
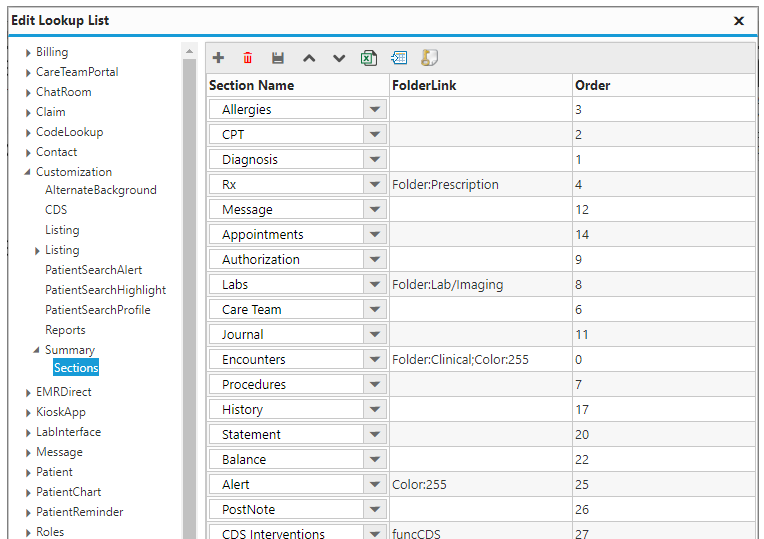
- Section Name: selects the section in which to include in the patient summary
- Order: enter the sequence with which to sort the folders
Configure Summary Template Panel
- Click Settings > System Configurations > expand PatientChart > expand Summary> click Templates
- Template: selects the template to include in the patient summary
- Section: selects the section in which to include the template
- FillOption: selects the default behavior of the template (see picture)
Configure Timeline Tabs
- Click Settings > System Configurations > expand PatientChart > expand Timeline > click Tabs
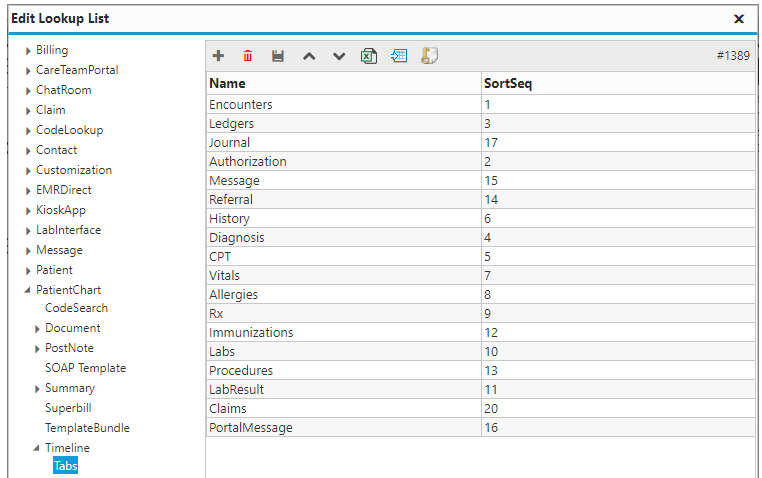
- Name: enter the name of the patient timeline tab
- SortSeq: enter the sequence with which to sort the folders
Configure PostNote Options
- Click Settings > System Configurations > expand PatientChart > expand PostNote > click Listing
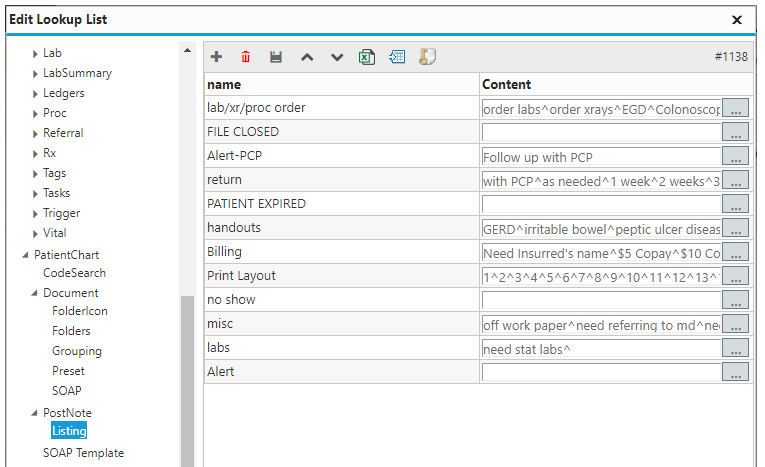
- Name: enter the name of the PostNote
- Content: enter the options for each PostNote section
Patient Portal
Add a header to begin generating the table of contents
Configure
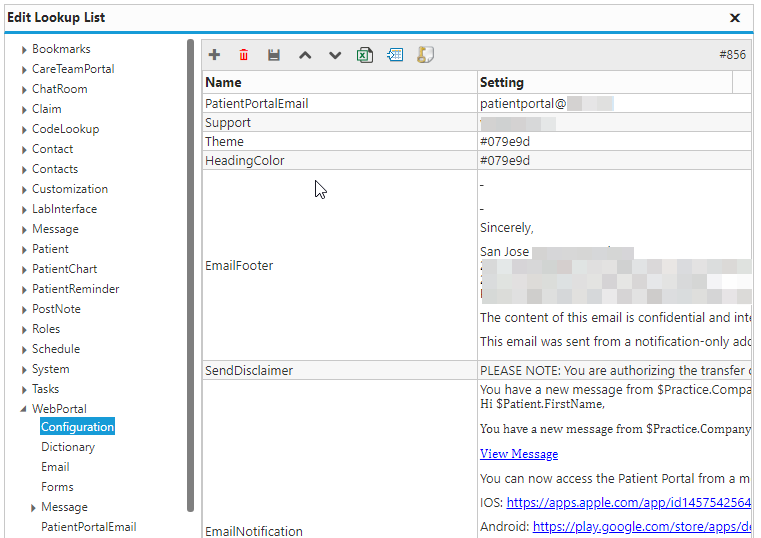
- Patient Portal Email:
- Support:
- Theme:
- Heading Color:
- Email Footer:
- Send Disclaimer:
- Email Notification:
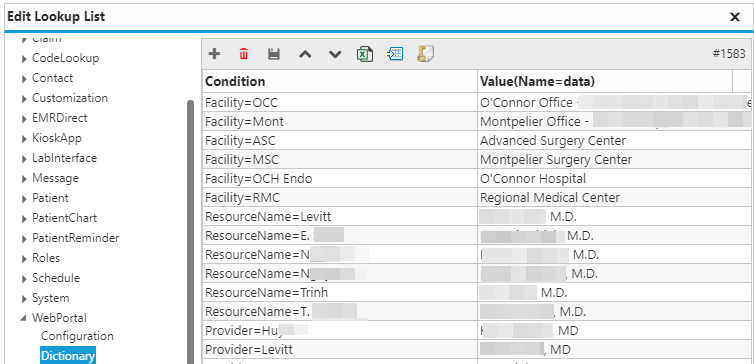
Dictionary
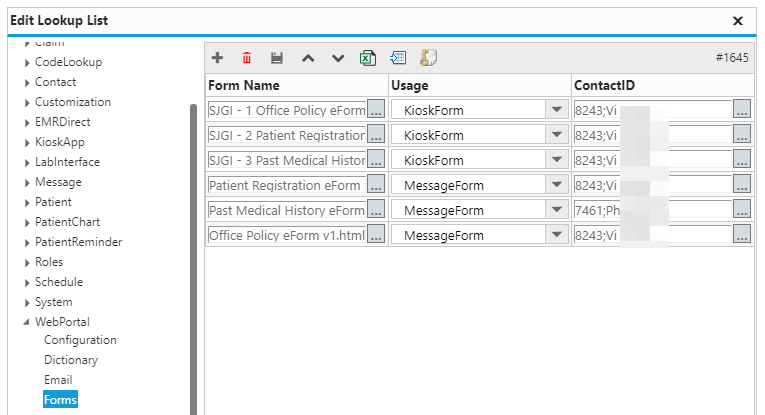
Forms
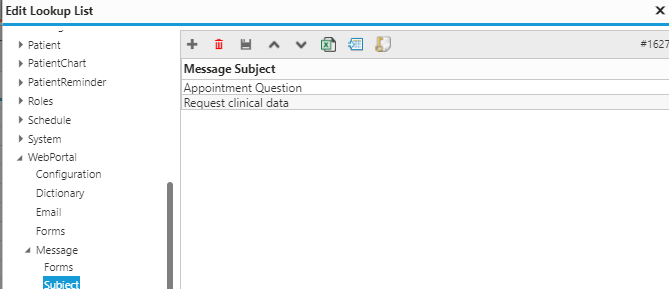
Message

- Forms:
- test
- test
- Subject:
- test
- To:
- test
- To2:
- test
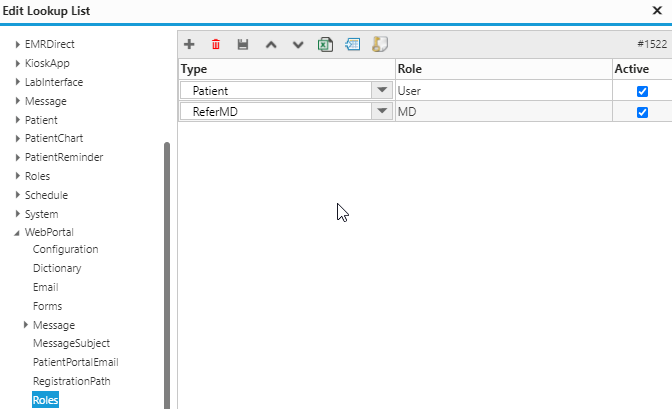
Roles
Schedule
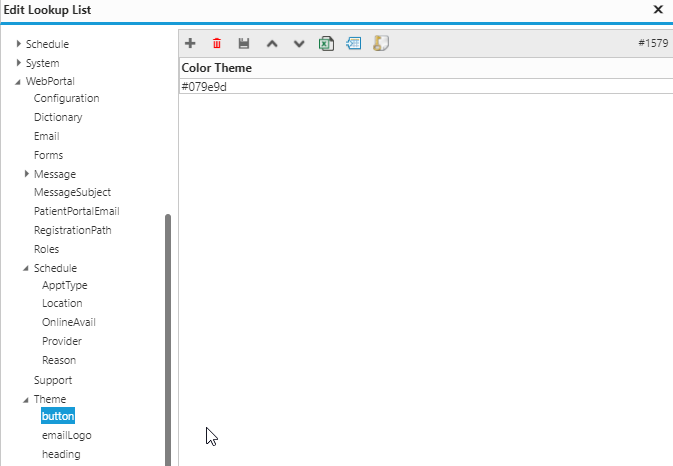
Theme
Timeline > Tabs

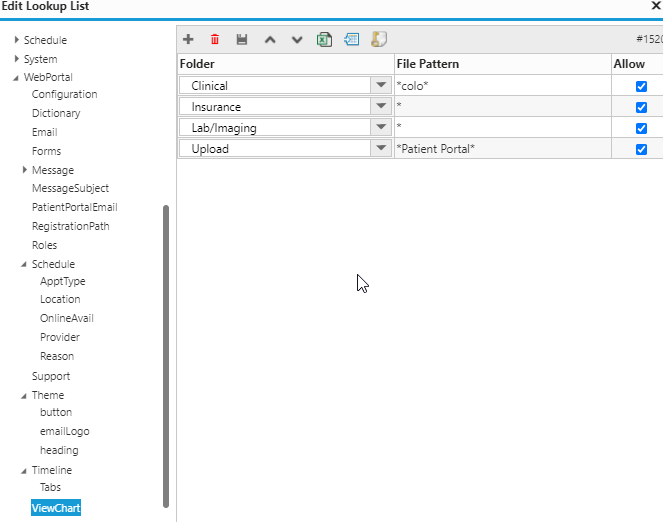
View Chart
Patient Kiosk
Add a header to begin generating the table of contents
Opt Out Photo
- Click Settings > click System Configurations > expand KioskApp > click Configuration
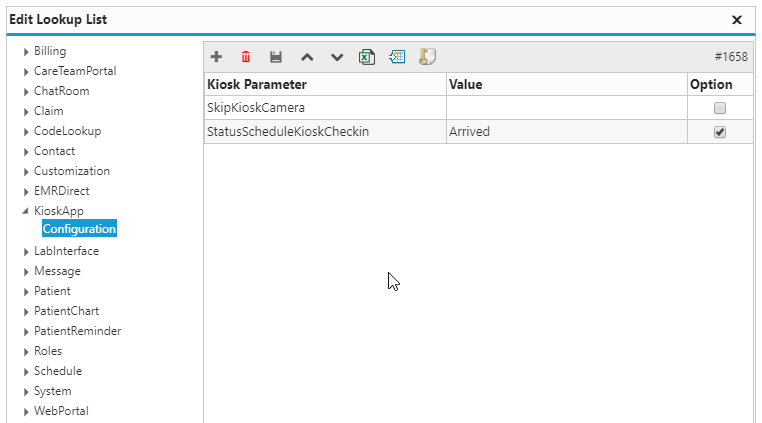
- Skip Kiosk Camera: allows clients to opt-out of a photo
Change Schedule Status
Schedule
Add a header to begin generating the table of contents
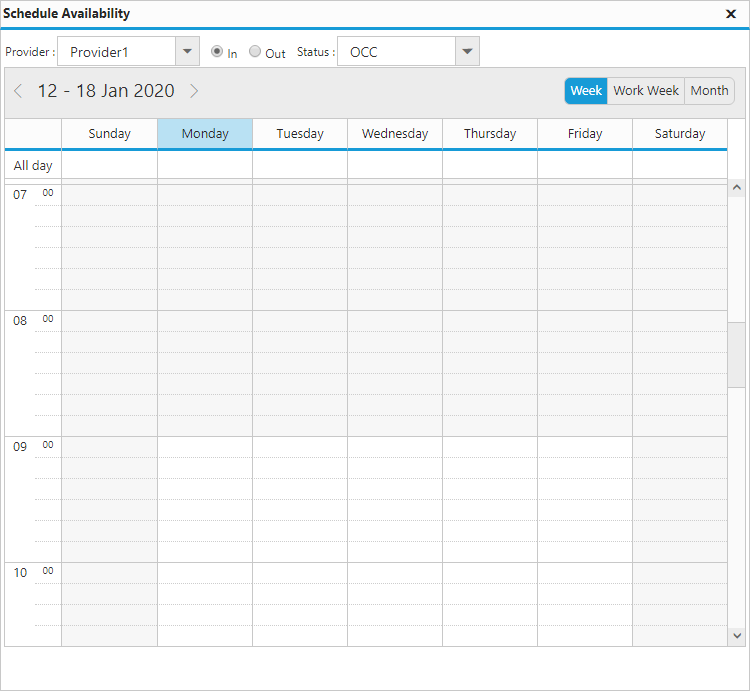
Set Schedule Availability
- Click Settings > Schedule Availability (see picture)
- Select the correct Provider and Facility from their respective drop-down menus > select whether the provider will be In or Out
- Select the correct dates and times with the schedule
- Click the X to save and close
Set Color Coding Rules
- Click Settings > System Configurations > expand Schedule > click ColorCoding
- Click the add button to create a new entry > enter the new color coding rule’s details
- Click the Save button
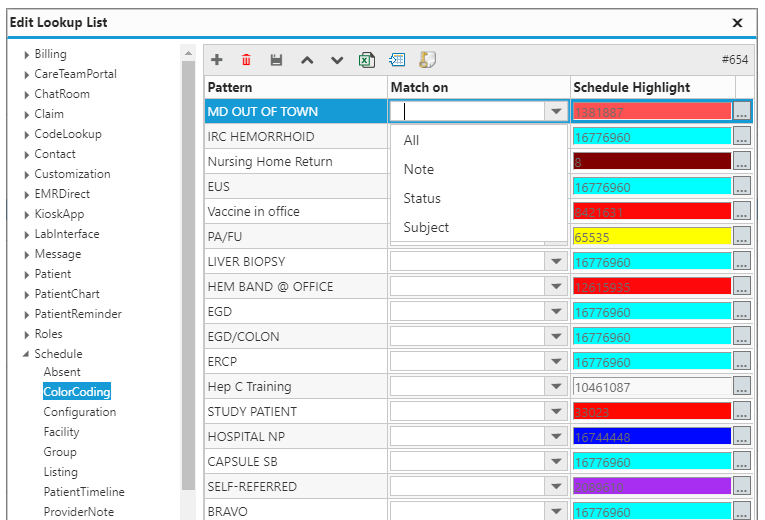
- Pattern: enter the keyword or phrase to associate with the color
- Match on: selects the item to match to the pattern
- Schedule Highlight: selects the color to associate with the keyword or phrase
Configure Schedule Tabs
- Click Settings > System Configurations > expand Schedule > click Tab
- Click the add button to create a new entry > enter the new tab’s details
- Click the Save button
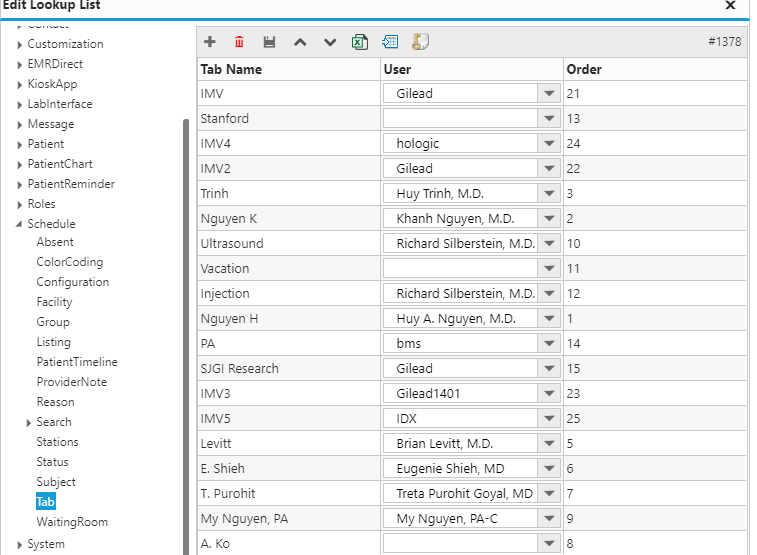
- Tab Name: enter the name of the tab
- User: selects which user’s schedule to display in that tab
- Order: enter the order of the tabs (0 = leftmost)
Configure Schedule Groups
- Click Settings > System Configurations > expand Schedule > click Group
- Click the add button to create a new entry > enter the new group’s details
- Click the Save button
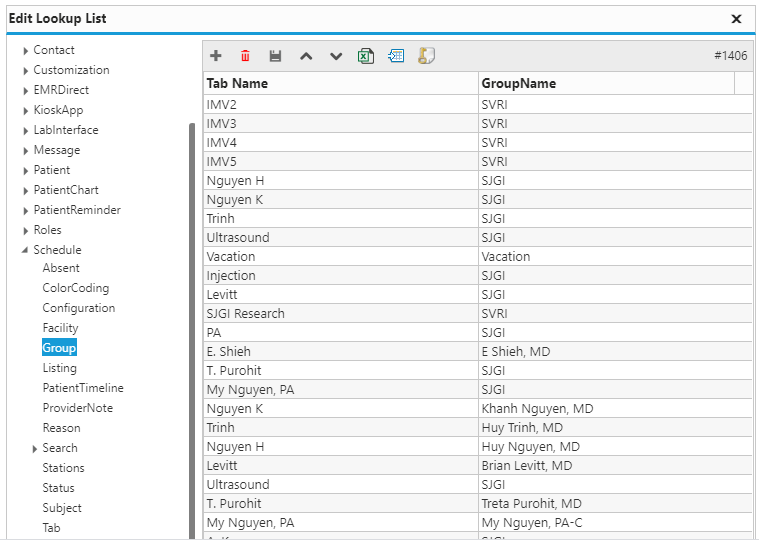
- Tab Name: enter the name of the previously configured schedule tab
- GroupName: enter the name of the schedule group (i.e. all tabs with the same group name will be shown under that schedule group)
Configure Provider Notes
- Click Settings > System Configurations > expand Schedule > click ProviderNote
- Click the add button to create a new entry > enter the new note’s details
- Click the Save button
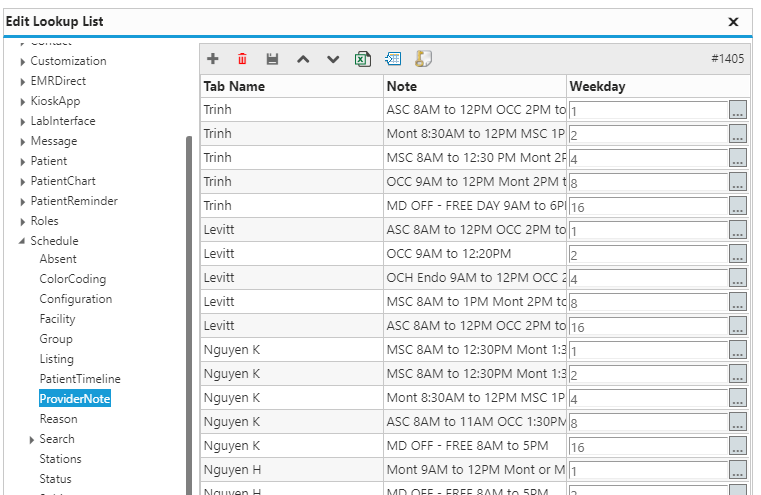
- Tab Name: name of note
Configure Patient Timeline
- Click Settings > System Configurations > expand Schedule > click PatientTimeline
- Click the add button to add Patient Timeline sections to the schedule’s “Patient Info” drop-down menu (see picture)
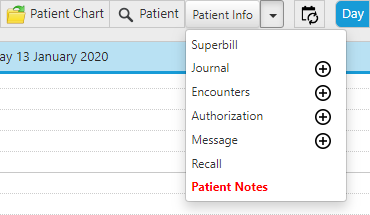
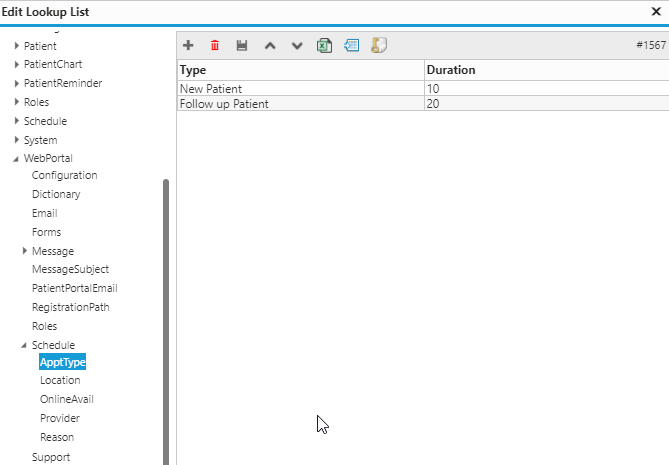
Configure Appointment Subject Options
- Click Settings > System Configurations > expand Schedule > click Subject
- Click the add button to add subjects and the associated durations
Configure Appointment Duration Options
- Click Settings > System Configurations > expand Schedule > click Configuration
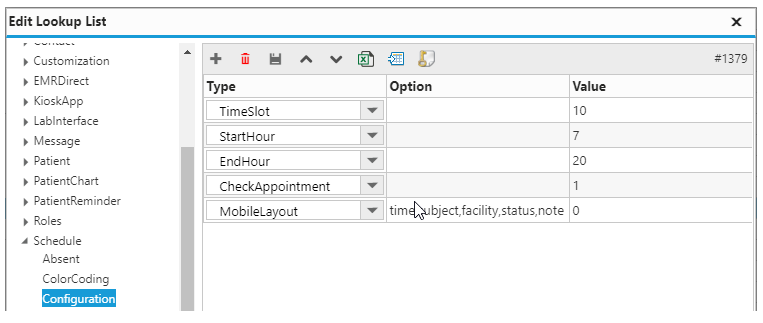
- TimeSlot: sets the appointment duration value in minutes
- StartHour: sets the schedule start time on a 24-hour clock (recommend 2 hour before office open)
- EndHour: sets the schedule end time on a 24-hour clock (recommend 2 hour after office close)
- MobileLayout: sets which schedule elements are displayed in the Mobile EMR
Configure Appointment Reason Options
- Click Settings > System Configurations > expand Schedule > click Reason
- Click the add button to add reasons
Configure Appointment Facility Options
- Click Settings > System Configurations > expand Schedule > click Facility
- Click the add button to add facilities
Configure Appointment Status Options
- Click Settings > System Configurations > expand Schedule > click Status
- Click the add button to add statuses