Advanced Configurations (Cont’d)
Messaging & Tasks
Add a header to begin generating the table of contents
Other Sections
Add a header to begin generating the table of contents
View User Messages
- Click Messages
- Click the drop-down beside the current user’s name > click the correct user to view that user’s messages
Configure Routing Rules
- Click Settings > click System Configurations > expand Message > click Configuration
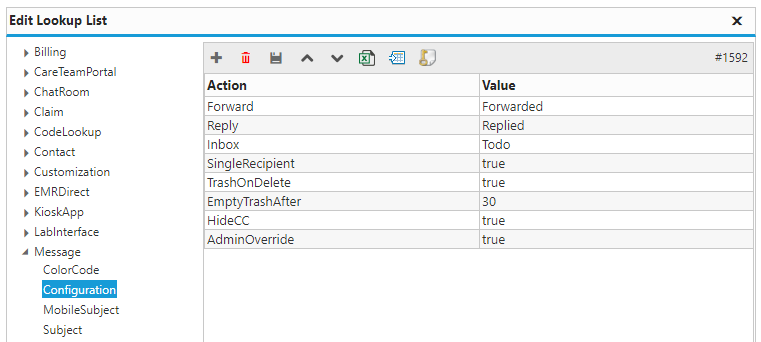
- Action: enter the action witch which to route a message
- Value: enter where to route a message for a specific action
Configure Color Rules
- Click Settings > click System Configurations > expand Message > click ColorCode
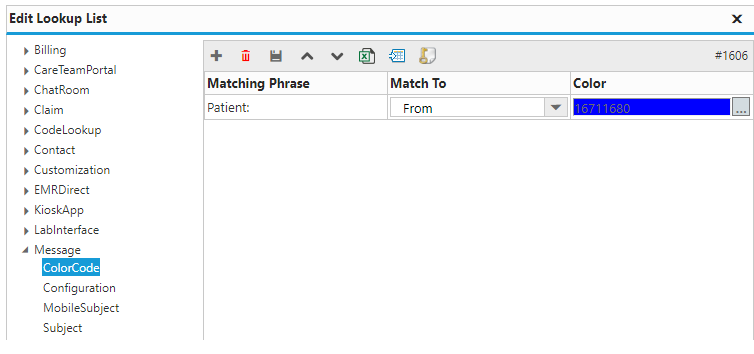
- Matching Phrase: enter the keyword or phrase to associate with the color
- Match To: select which field of a message to match to the matching phrase
- Color: select the color to associate with the keyword or phrase
Configure Subject Options
- Click Settings > click System Configurations > expand Message > click Subject
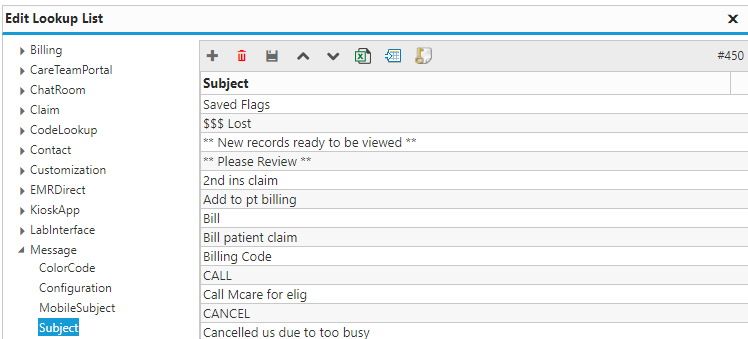
- Subject: enter the name of the option
Contacts
Add a header to begin generating the table of contents
Configure Categories
- Click Settings > click System Configurations > expand Contact > click Category
- Click the + button to add an entry > enter the Contact Category and Data Type

- Contact Category: the name of the contact category
Configure Custom Fields
- Click Settings > click System Configurations > expand Contact > click Custom Fields
- Click the + button to add an entry > enter the Field Name
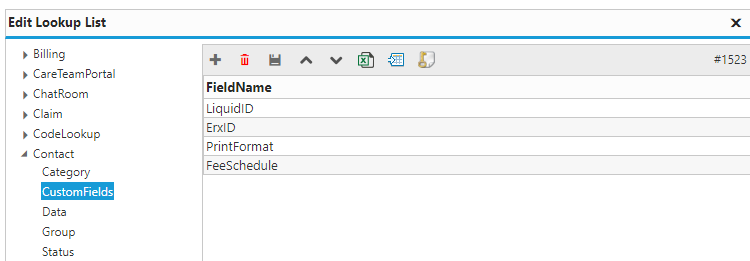
- Field Name: the name of the custom field
Configure Groups
- Click Settings > click System Configurations > expand Contact > click Group
- Click the + button to add an entry > enter the Contact Group and Data Type
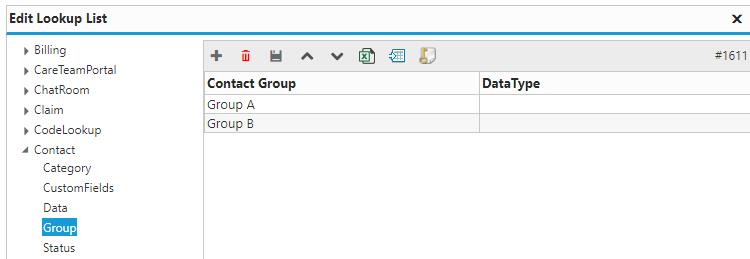
- Contact Group: the name of the contact group
Configure Status
- Click Settings > click System Configurations > expand Contact > click Group
- Click the + button to add an entry > enter the Contact Status and Data Type
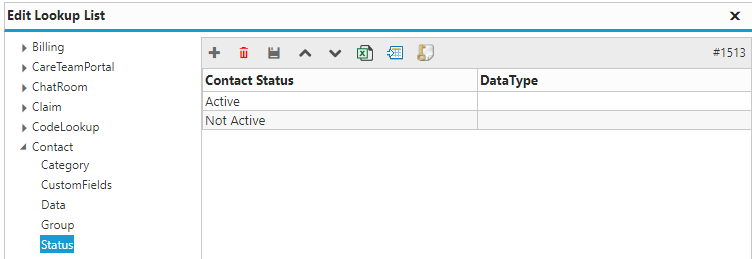
- Contact Status: the name of the contact status
Templates
Add a header to begin generating the table of contents
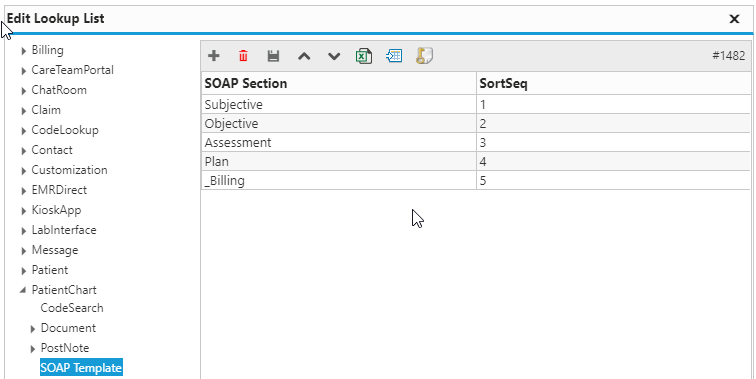
Configure SOAP Sections
- Click Settings > System Configurations > expand PatientChart > click SOAP Template
- Click Settings > System Configurations > expand PatientChart > click SOAP Template
Configure Chart Template Panel
- Click Settings > System Configurations > expand PatientChart > expand Summary > click Templates

- Template: selects which template to include in the patient chart
- Section: selects within which tab to include the template
- FillOption: selects the default behavior of the template when opened
- Automatically start filling: automatically begins filling the template when opened
- Automatically fill with default: automatically fills the template with the default selection for each macro when opened
- Print after finish: automatically prints the template after it is filled
- Automatically save note after finish: automatically saves the template after it is filled
- Automatically exit after finish: automatically closes the template after it is filled
Billing
Add a header to begin generating the table of contents
Configuration Billing Information
- Click Settings > System Configurations > expand Billing > click Configuration
- Enter the necessary billing information (e.g. PracticeName, PracticeAddress, CheckRT, ChechAcct, etc.)
- Click the Save button

Configuration Superbill Templates
- Click Settings > System Configurations > expand PatientChart > click Superbill
- Click the add button to add items to the Superbill template
- Click the Save button
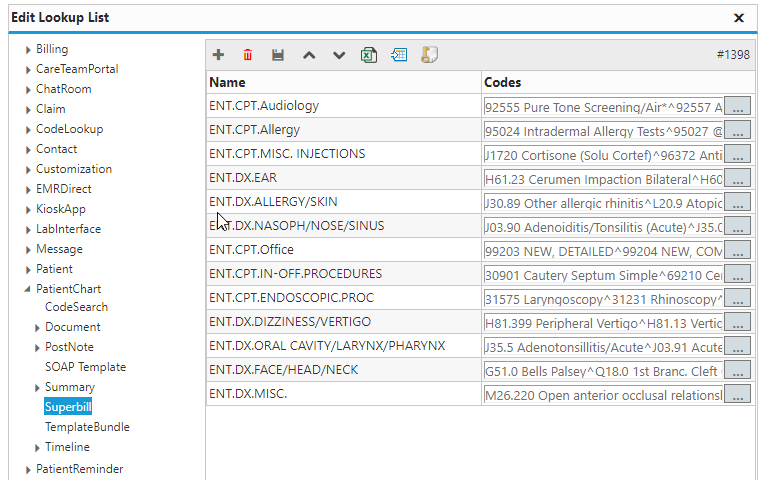
- Name: Use the following naming schemes:
- For procedure (CPT) codes use ‘template-name.cpt.section-name’
- For diagnosis (ICD) codes ‘template-name.dx.section-name’
- Code: Search for the correct procedure or diagnosis codes
- Or enter them manually