Patient Portal
Home
Add a header to begin generating the table of contents
Other Sections
Add a header to begin generating the table of contents
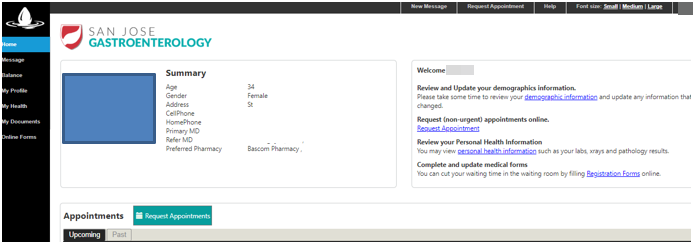
Click the Home tab for a summary screen for demographics and appointments
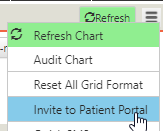
How to Access
- The clinic can send out the invite to the patient’s email
-
The invite only activates on patients that never registered for the portal AND has email on file.
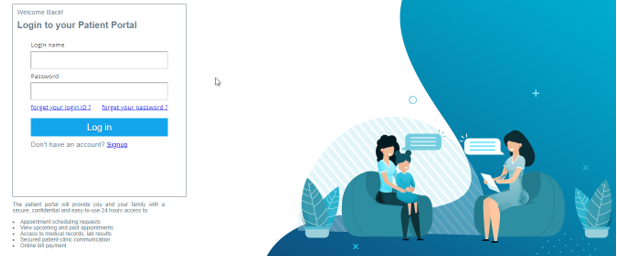
- Upon receiving click the link to read message

- First time users need to click the register link > follow prompt and fill out necessary information

- Existing users login with credentials
- Once logged in, patients can access files, messages, etc. sent from their physician
Clinic
- Login to clinic > click Patient Portal
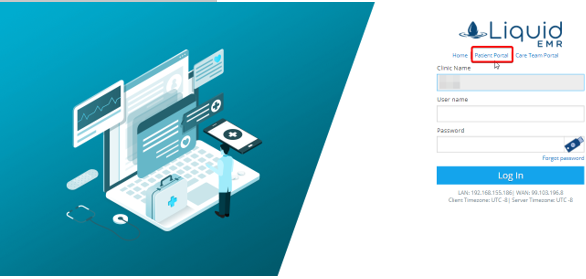
- Enter login credentials > log in
- Once signed in, you can access the different tabs from the left side panel and more
View Upcoming/Past Appointments
- From the summary screen locate the appointments section below
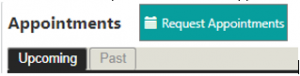
- Click Upcoming for upcoming appointments
- Or click Past for past appointments
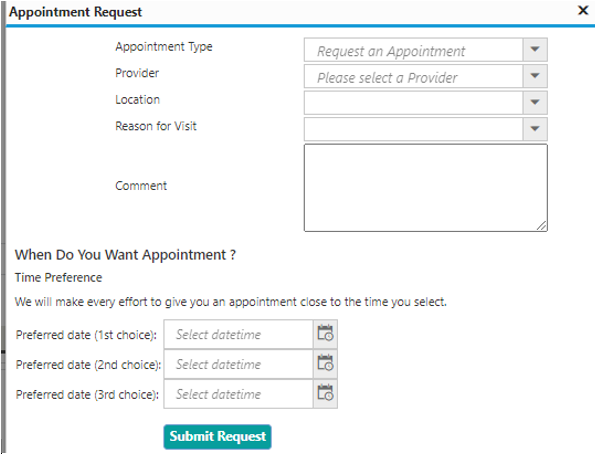
Request New Appointment
- Click the Request Appointment link on the right side of summary screen
- Select the correct appointment type, provider, location, reason for visit and time preference from the respective drop-down menus
Message
Add a header to begin generating the table of contents
- Similarly to inbox, users can browse through sections: inbox, sent, trash, replied
- Click message for a preview below
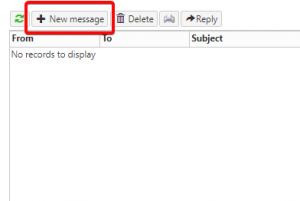
- Select icons from toolbar to compose new message, delete, print, reply
- Filter messages by pressing top headings (From, To, Subject, etc.)
 To revert back press same heading twice
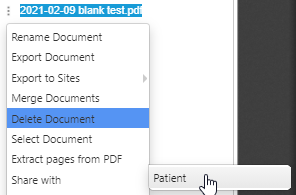
Send a Document to Patient
- Open a patient’s notes
- Expand folder > click on the desired file to send patient
- Click the 3 vertical dots > scroll down to Share With > click patient
- Note that patient must have email on file and be registered in the patient portal
- The patient should then receive an email with the corresponding document attached
- Once received, the patient can preview the message and respond as desired.
- Note that patient must have email on file and be registered in the patient portal
Compose a Message
- There are 2 places to compose a message to send to their physician
- Click New Message from the toolbar
- Click New Message from the top of the home screen

- Click New Message from the top of the home screen
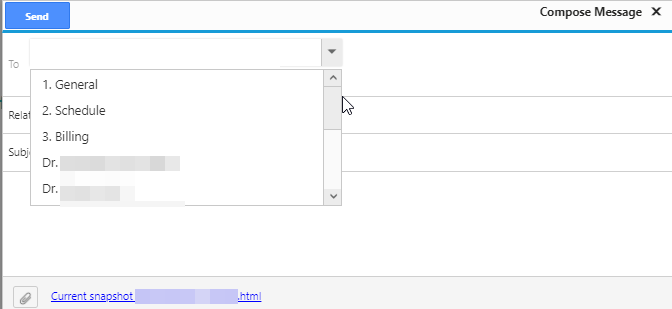
- Click To > select desired location
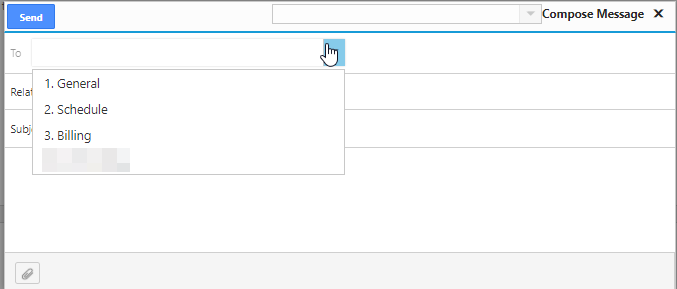
- Change subject if necessary
- To upload a file click the paperclip icon on bottom left window > choose file from computer > click upload > click send icon
- Click New Message from the toolbar
Sort Messages
- Click Inbox > click a column heading (e.g. From, To, Subject, etc.) to sort by it
-
- Or click the same column again to reverse the sorting
Open a Message
- Click Inbox to view received messages
- Or click Sent to view sent messages
- Select a message to preview it
Reply to a Message
- Click once to choose the correct message
- Click the reply icon

- Fill out necessary information in the new window > click send when ready
- Click the reply icon
Delete a Message
- Click the correct message to preview
- Double check preview to make sure it can be deleted
- When ready, click the delete icon from the toolbar and the message will populate in the trash folder

Balance
Add a header to begin generating the table of contents
View Balance
- Click Balance tab from the left side panel
- See Running Balance
Make a Payment
- Make a payment by pressing Make a Payment link

- Fill out card info > or add new card > click back or submit
Health Records
Add a header to begin generating the table of contents
Ask a Question
- Click the Questions link

- Select an MD
- Or the questions category
- Write a question > click Send
Reset Password
- Click the Reset Password link
- Enter a new password > enter it again to confirm it > click Change My Password
View Records
- Click the My Health tab from the left side panel
- See Allergies, Encounter, Diagnosis, Lab Results, Rx, and Vitals
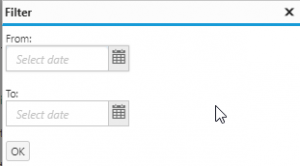
Filter Records by Date
- Click Filter link
- Enter the start and end dates
- Or select the dates using the calendar
- Or select the dates using the calendar
Download Records
- Click My Health tab from the left side panel
- Click Download link

Submit Records
- Click My Documents from the left side panel
- Click Submit Medical Records to Clinic

Download Multiple Documents
- Click Download Multiple Files
- Select the files to download > click Ok
Email Documents
- Find the correct document > follow the row over and click Email
- Enter the recipients Email Address > if necessary, update the File Name > click Send
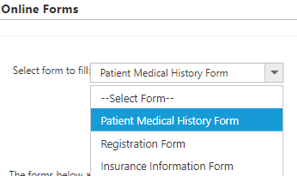
Submit Online Forms
- Click the Registration Forms link on summary screen
- Or click the Online Forms tab from left side panel
- Select from the drop down menu: Patient Medical History, Registration Forms, Insurance Information Form > fill out desired information on select form
Reference Guide
Add a header to begin generating the table of contents
Message Health Bar
![]()
- Refresh: refreshes Inbox
- New Message: opens new message
- Delete: deletes selected message
- Print: prints current message
- Reply: replies to selected message
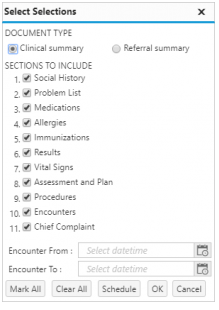
My Health Toolbar
![]()
- Filter: filters health records by date

- Download: downloads health records as PDF
- Questions: opens message box to ask a question
- Generate Electronic Patient Record: Selects which records for which dates to generate a clinical or referral summary
Add Schedule Window
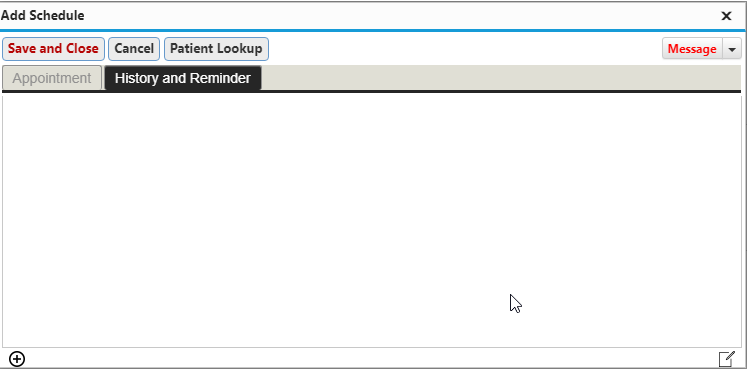
- History and Reminder: shows the history of the appointment
- Message – Patient: emails the patient information or a reminder prior to the appointment
- Message – SMS Patient: texts the patient information or a reminder prior to the appointment
- Message – TeleHealth: emails the patient a link to join the TeleHealth appointment